
A Heat, Scratch & Stain Resistant Benchtop? YES PLEASE!
Are you on the hunt for a heat resistant, stain resistant and highly scratch resistant benchtop? Well, look no further! We have just the perfect thing for you... read on! Dekton is offered in an array of sizes so is totally custom to your design and style needs and...
Heritage Charm
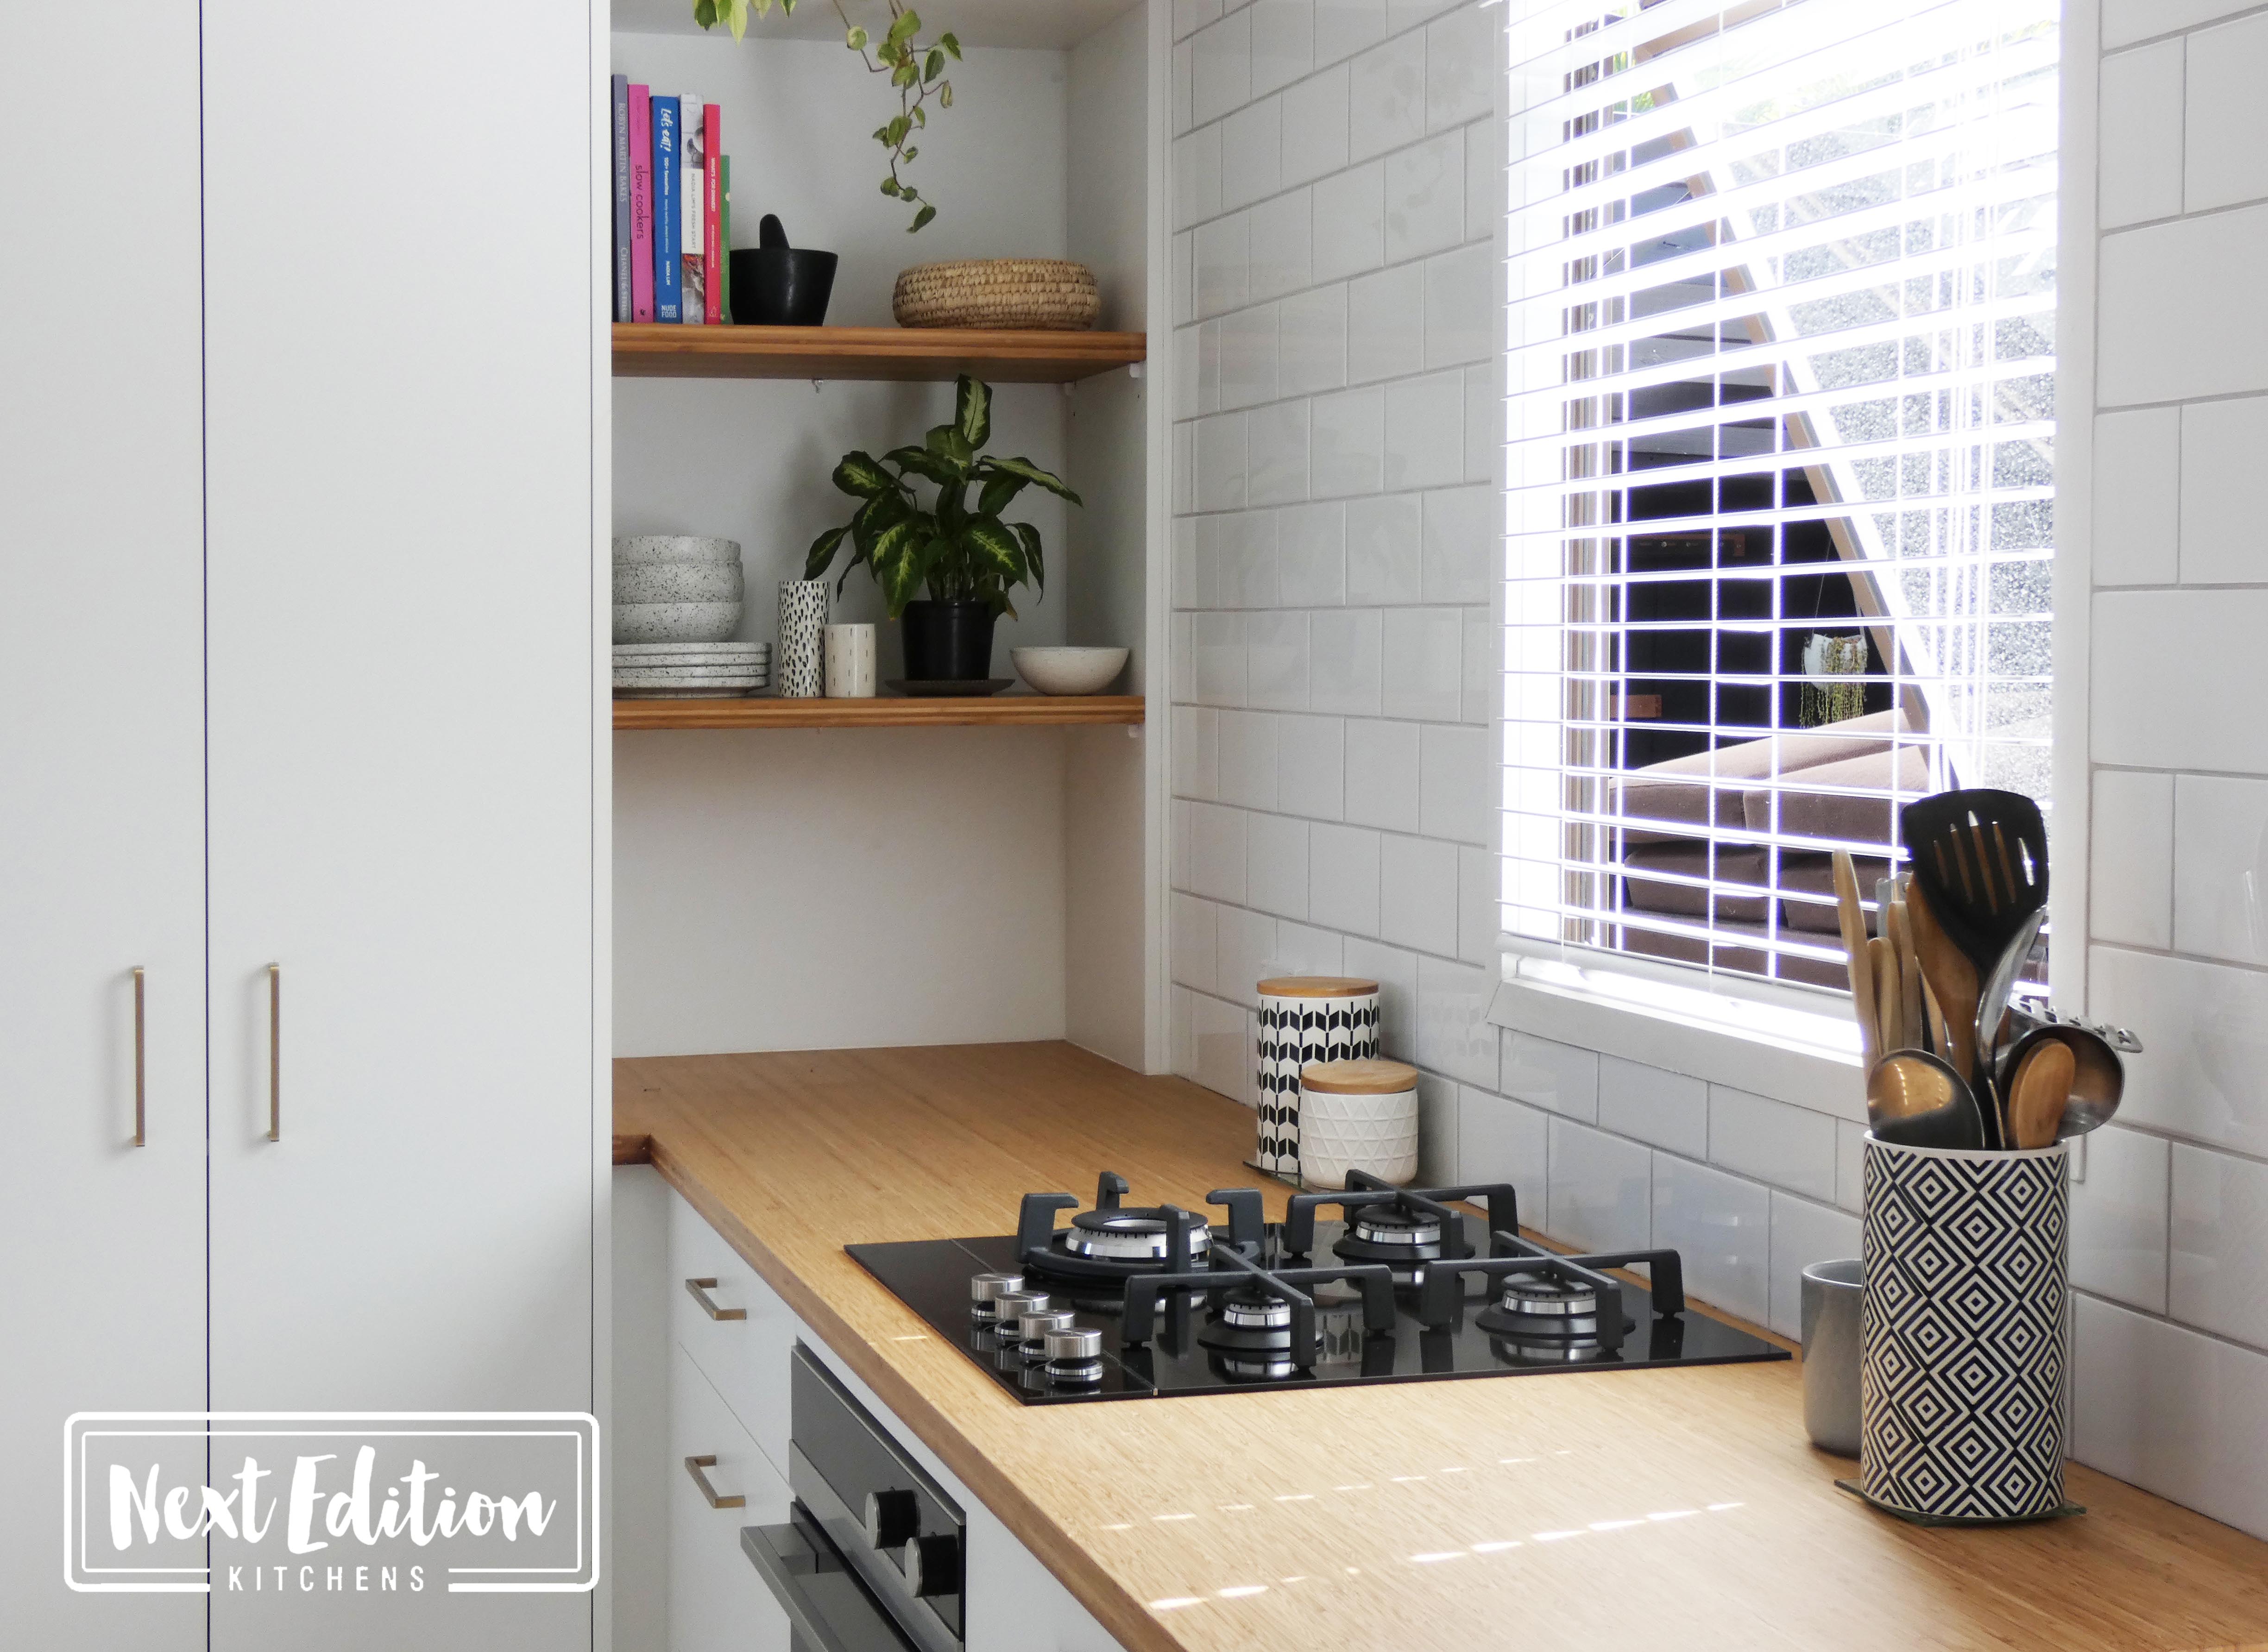
A new kitchen doesn't necessarily mean super modern or minimal and this kitchen is a perfect example of a warm, inviting space that perfectly aligns with the rest of the home's aesthetic. On kitchen benchtops, drainage grooves can be useful, as they allow water and...
Black & White Forever
When it comes to creating a good base for your kitchen, here at NEKL we are firm believers that you cannot go wrong with classic black & white! Think of metalware as jewellery for your kitchen- adorn it in brushed nickel, rose gold or brass. And don't forget you...
Green with Envy
The colour green evokes feelings of calm, renewal and growth, so it's a fitting choice for the kitchen which is often the place you both start & finish the day in. This gorgeous green is by Resene, paired with white Rhynoply, cutout handles and Caesarstone...
Perfectly Imperfect
A white kitchen needn't be safe, especially when it is contrasted with beautiful concrete benchtops like these! Concrete is a great material for those seeking a customised material, with a natural sensibility. It's adaptable to suit your taste, adds depth and...

What to plant in your Garden this August
Wondering what to plant in your Garden this August? Spring is coming knocking and what better time to get your garden tools out of the garden shed and get a head start on planning & creating your perfect spring garden. August is the perfect time to start sprouting...
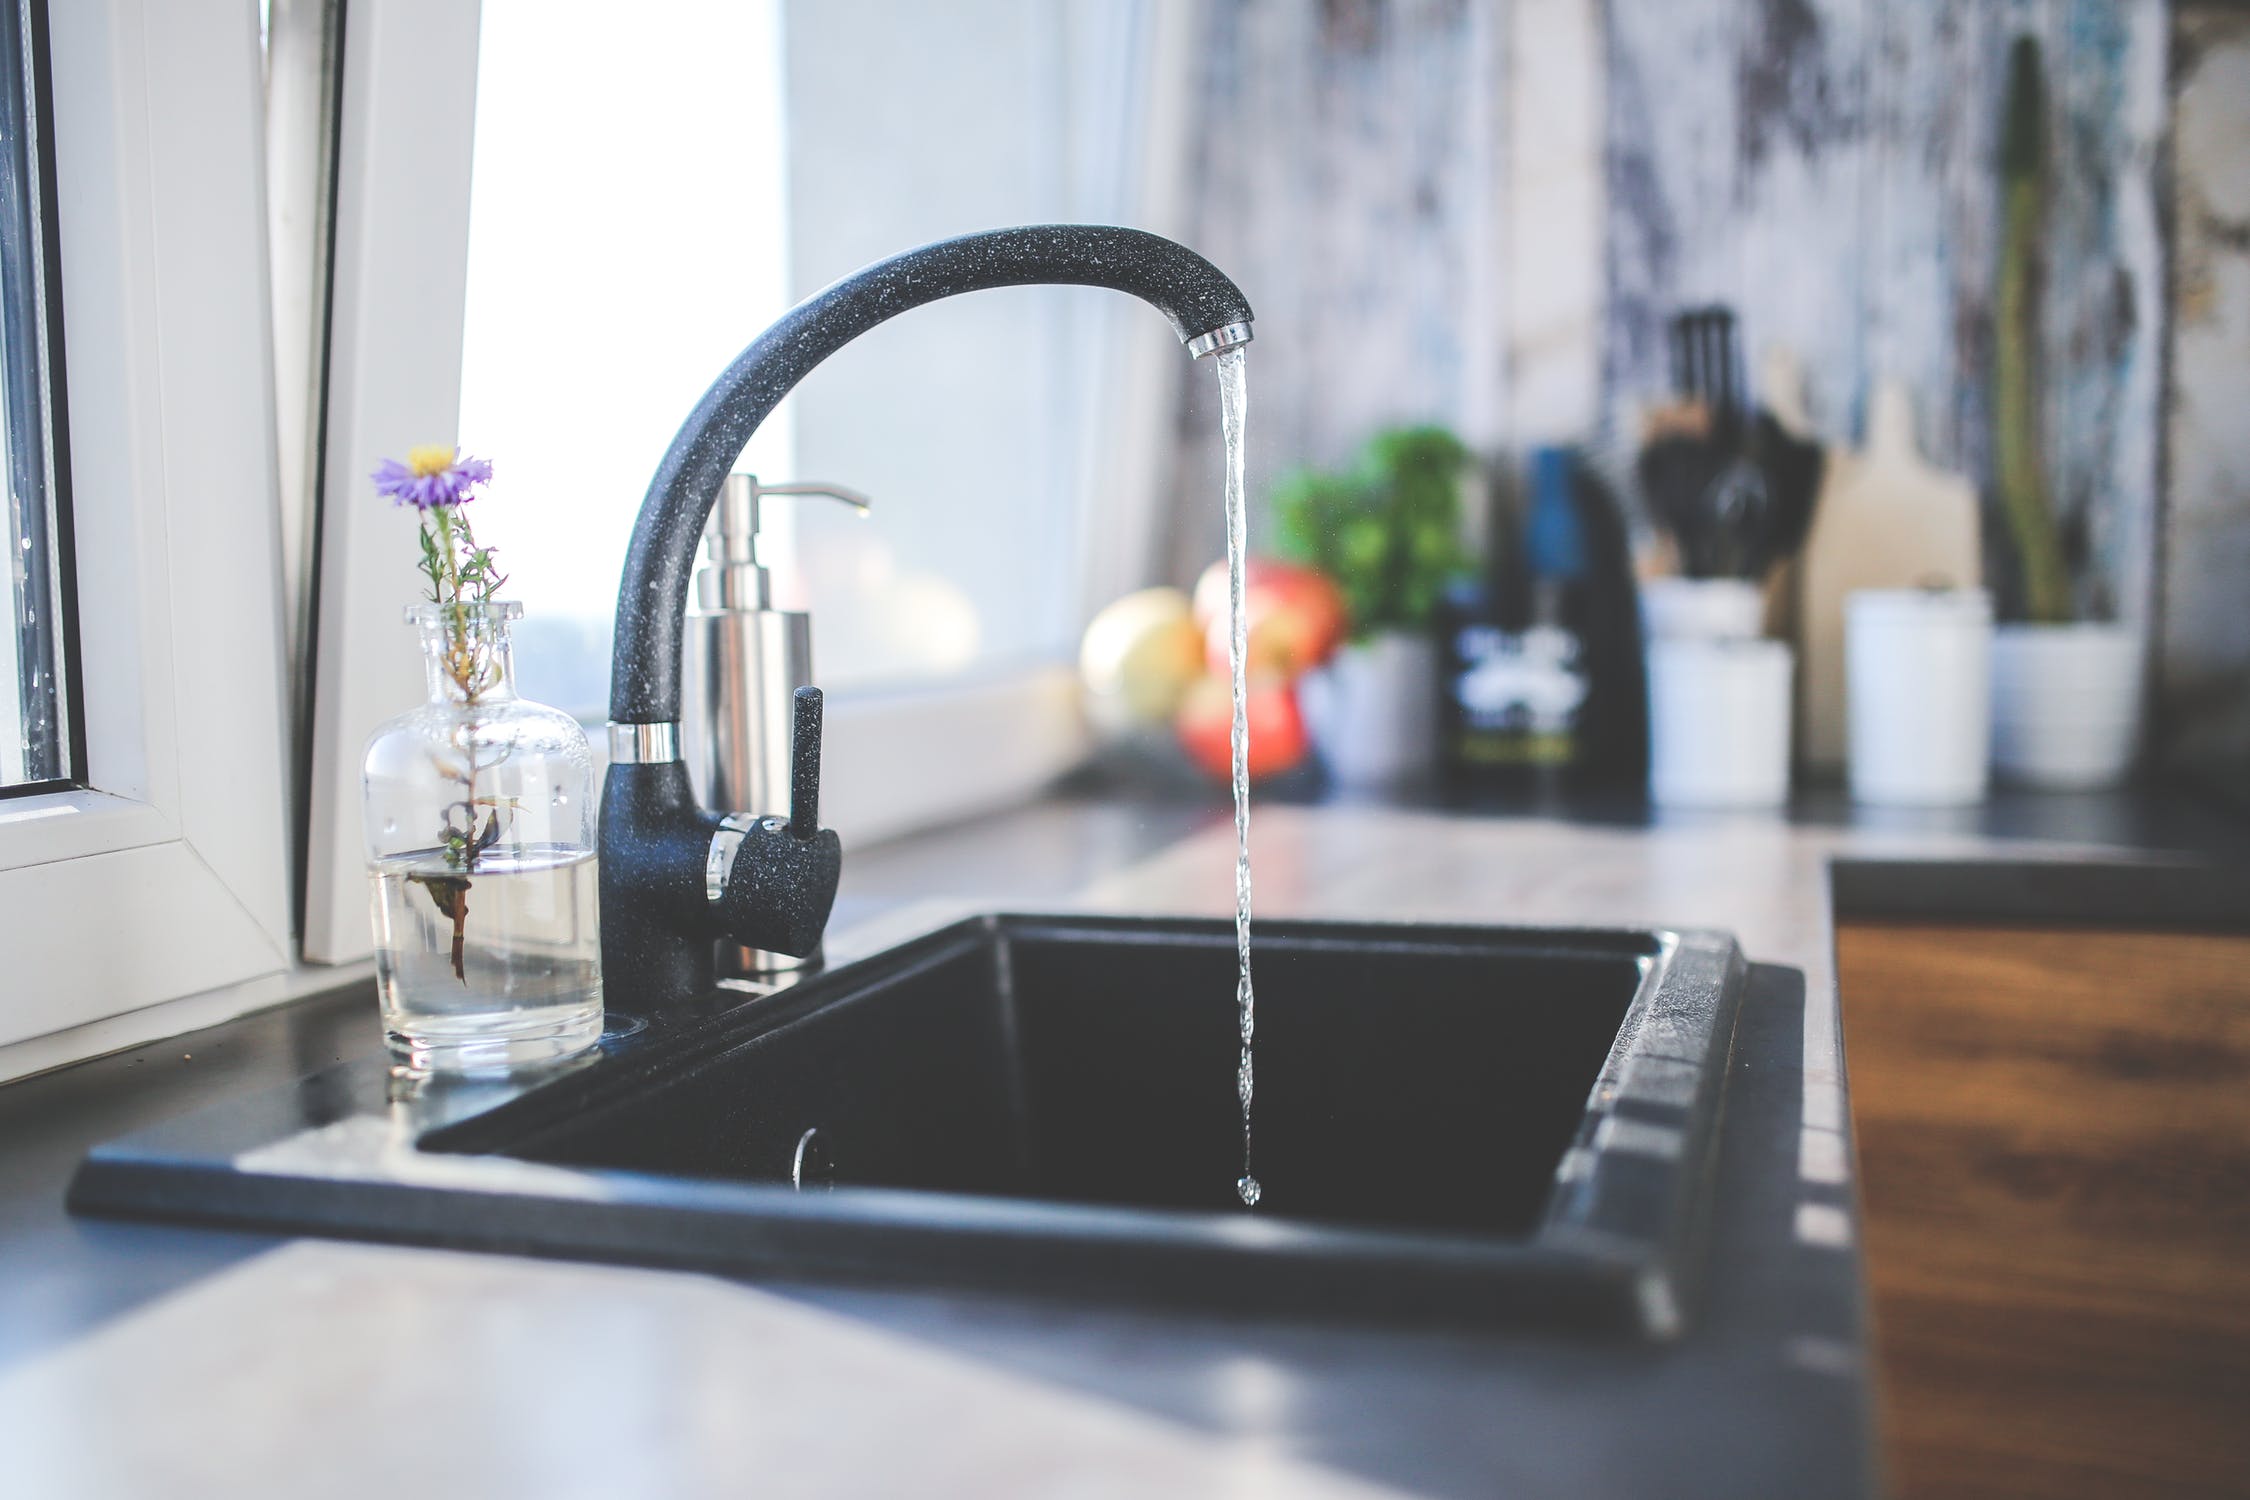
Choosing a tap for your design
Whether you’re building your first home, renovating your current house, the pressure of choosing the right tap can be rather daunting. The kitchen tap will be one of the most frequently used items in your kitchen, with quite a large amount of choice on the market...

Delicious, Tummy-warming Apple Crumble
Delicious, Tummy-warming Apple Crumble After a quick, cheap evening treat for after dinner? i bet you probably have all the ingredients in your household as the recipe is SO SIMPLE and just absolutely a family favorite to warm your bellies in this cold winter chill. ½...
Kitchens 101: 5 Quick Questions
The kitchen can be one of the most daunting rooms in the house when it comes to renovating, especially as it can also be one of the most expensive rooms to renovate! We want to ensure you get it absolutely right for you & your family, so have put...

Cupboard Doors

Kitchen Layout
