When renovating, it is so important to stay true to the heritage of your home, which can often feel restricting. Today we show you the perfect mix of classic + modern/happy +sophisticated/contemporary + timeless which takes this kitchen from being...
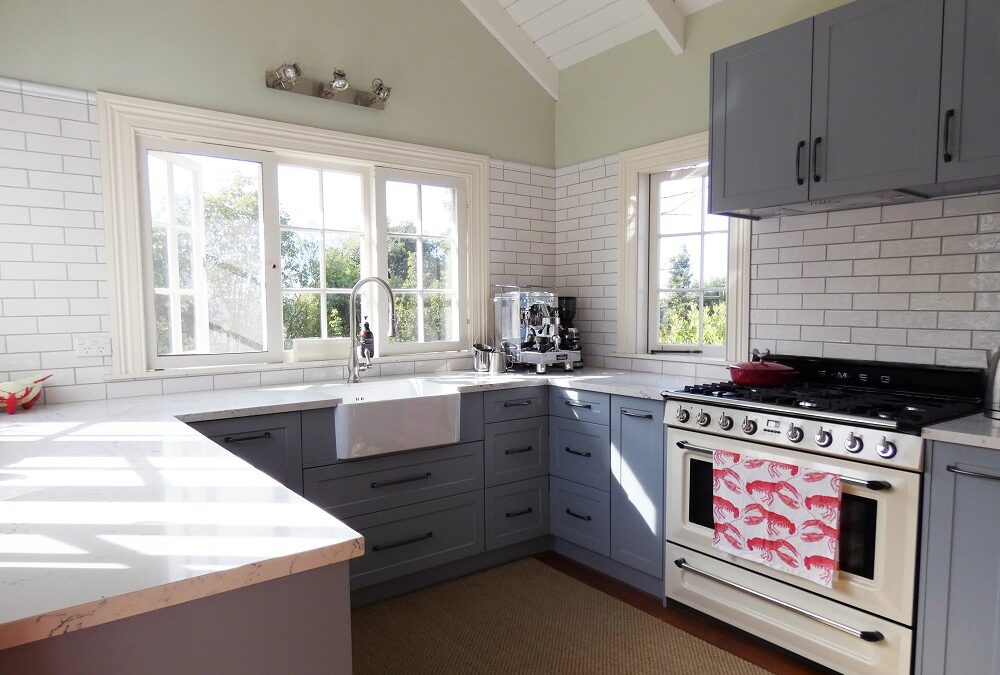
The Modern Classic Kitchen
read more