Posts

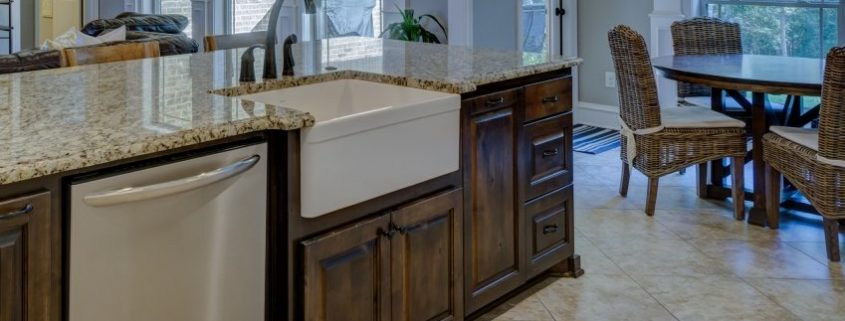
Butler sink

The Butler sink – Must have sink 2018

A couple of weeks ago, one of our suppliers had come to us and proposed an updated brochure of beloved sinks and mixers we use with a few new additions thrown in here and there and let me tell you – we are in for a jolly good treat!

One sink that particularly stuck out to us was the butler sink (or otherwise known as the farmhouse sink) I decided to do a bit of research on this gem and prepare to be amazed – there is a bit of history behind the idea designers had whilst designing this little beauty.

Let’s start with the history so we can appreciate it even more knowing is origination.

You will notice this sink has many different names it goes by depending on what part of the world you live in, here in NZ and Australia we most commonly identify these as a Butler sink or Farmhouse sink, but they are also called apron front (mostly in the US), London and Belfast. (I’m going to stick with using Butler sink for this blog) London and Belfast are in fact two specific designs of farmhouse sink – read a little more about this below.

The Butler sink originated in a time when there was no running water, so in this time we all used buckets (or pales if you will) of water, the idea behind the sink was that it was a place to hold large amounts of water – water that had to be collected by hand with buckets and barrels from nearby water wells, lakes or rivers.

The two original iconic Butler style sinks, which emerged in Ireland and Britain in the late 17th century, were the London and the Belfast sink. They were both of similar design, however – each had their own noticeable different characteristics designed to suit the area they would be used for. The Belfast sink was deep and had an overflow so that excess water could be easily drained away instead of flowing over the sides of the sink. Unlike Belfast, the London sink was designed to be shallower and had no overflow so that every drop could be kept inside the sink.

The design of the sink means that the user can stand directly at the front of the basin – with no cabinets or benchtop in between. This made the Butler sink more comfortable to use for women who would, in olden days, spend some of their day at the sink, preparing food, washing dishes, washing clothes and even washing babies.

Practicality of the size:

While you could still wash your baby in today’s Butler sink, you’ll probably find it more useful for washing large pots, baking/oven trays etc. – items that you would generally struggle to wash in a typical sink, and – if one large bowl isn’t enough, you can find several double bowl options, too.

Installation:

Originally, Butler sinks were designed to sit slightly to the front of the cabinets so that any water that spilled over down the front of the sink it would run directly to the floor instead of flowing on and damaging the cabinets, this is still how Butler sinks are typically installed in a kitchen.

They are also installed just under the benchtop level so that the bench can slightly overhang the sides of the sink, making it easy to wipe water from the bench straight into the sink.

Whats the material?

White Butler sinks are most commonly made from either fireclay or porcelain.

Fireclay sinks are made of clay, which is heated to an extremely high temperature that makes the sink very hard and durable. It also gives the sink its beautiful high shine. The durability of fireclay means that it is very resistant to scratches and chips and is also very easy to clean.

Porcelain sinks are a ceramic material, again heated to high temperatures, although not quite as high as fireclay. They look like fireclay sinks but are less expensive. Porcelain sinks are not quite as durable as fireclay and are more prone to chipping and discoloration.

There are many other options regarding copper colors & stainless steel which both have many benefits.

There is a modern version which unlike the butler sink, it sits on top of the benchtop and has a space for a tap hole incorporated into the sink, eliminating the need to have a benchtop run around the back of the sink. The fact that this sink sits on top of the bench eliminates the risk of water finding its way down the sides of the sink, making for a more water tight option – although not as authentic as the original design.

If you’re needing inspo, don’t fret! i have you covered….https://www.pinterest.nz


6 Popular kitchen layouts (with pictures)

Ever noticed how creative you can get with your layout of a kitchen? the most asked question is “What layout would suit me and my house?” well, no more wondering – we have the perfect guide (with pictures) that will make being in the kitchen a breeze with the layout suited to your space.

First we have the U-shaped kitchen – this is perfect if you have a couple of cooks in the house who enjoy cooking together, this layout is designed to create and hold a wide range or space and storage making it easier to have more than just one in the kitchen. This layout best suits the larger rooms the kitchen is located as this layout is quite spaced out. The U-shape is perfect as it offers counters and work spaces on 3 walls and there is still the option of adding an island in the middle. Essentially, the U-shaped kitchen can offer the best of both worlds. The middle of the kitchen is yours to play with –  you can even include an island in the middle, this is ideal for the home owner that likes to not only spent lots of time in the kitchen making meals and baking but also sees it as a communal family room where everyone can get together.


Secondly, we have the L-shaped kitchen – this is perfect for those smaller units/flats that don’t have as much space but you still want to have as much space and storage as you possibly can, this is mainly ideal for one person cooking per time in a comfortable space. The only difference between this and the U-shaped kitchen is your pretty much losing one bench top and a few cupboards and drawers but being a smaller house with less residents this is perfectly workable. This dead end approach is great for those wanting to cook in privacy but if you don’t want the family shut out and like the idea of kids wandering through to check on dinner, the next option could be for you.

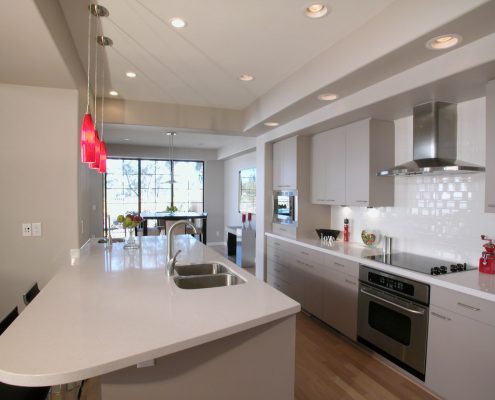
The third is the wonderful Gallery kitchen – This is a GREAT space saver and to be fair, some will argue this has slightly gone off the fashion board in the recent years with people more budging for those U & L shaped kitchen layouts because of the strict shape and closed-in feel doesn’t compliment a open plan living plan. But let me tell you the benefits, firstly, they can provide a two-walled approach to storage and facilities in a small space. Everything that a home cook needs is available on both sides but it is still a great way to save space in kitchen with minimal room to move. Secondly, the long walkway between the two work areas can open up the space on either side, allowing for a constant stream of traffic between the back yard and the dining area and a communal feel.

Number 4 Island kitchen – This design divides large kitchens into efficient, smaller working areas. The Island kitchens are by far the most popular layout because not only do they provide a host of new design options for new builds and renovations but they can actually enhance the layouts mentioned above. An island has many benefits depending on your design taste and style, it can give excellent depth and an opportunity to change this into a L-shaped kitchen but also a new meaning to a gallery kitchen as long as there is enough space to play with. Galleys are typically narrow but in a larger room, an island gives a stopping point in the middle for families to sit at. In other kitchens, like the large U-shaped kitchens, islands can be a great focal point in the middle of a large, dominating kitchen. Some kitchens that are short on space can use them for preparation while others will gain an alternative dining area.

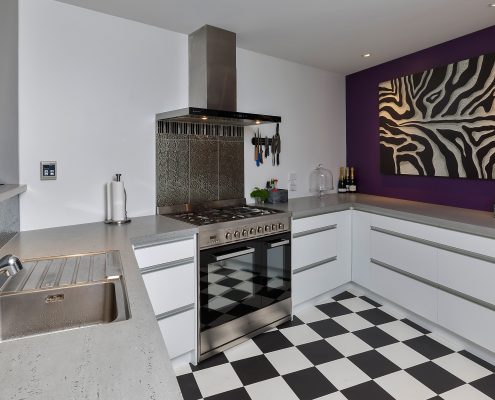
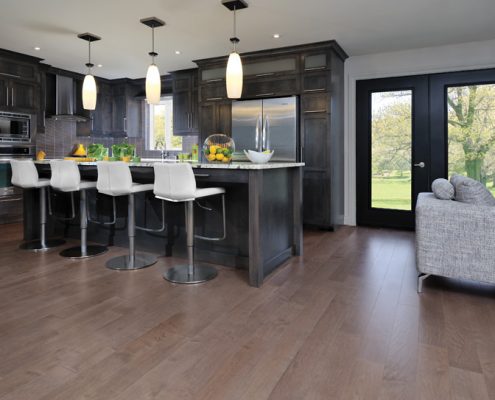
Dark panels in kitchen - Grey

Peninsula kitchen coming in at number 5 – This is pretty much just a U-shape kitchen but without the wall behind, this design is perfect if you are wanting to achieve an island in your layout but just don’t have the space to put it in the middle This is ideal for homes that really want an island to work on or eat but don’t really have the space to build one out in the middle of the room. There are limitations to this approach in terms of its use and accessibility, but it can be a great compromise for enhancing a small, L-shaped layout.


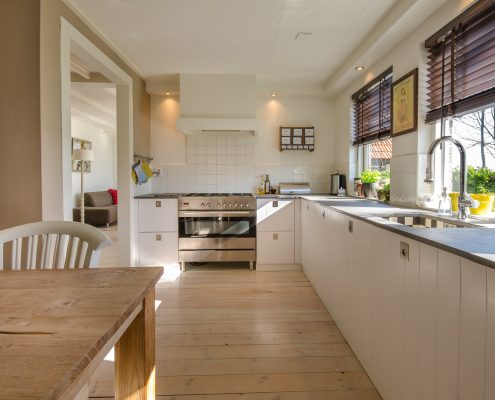
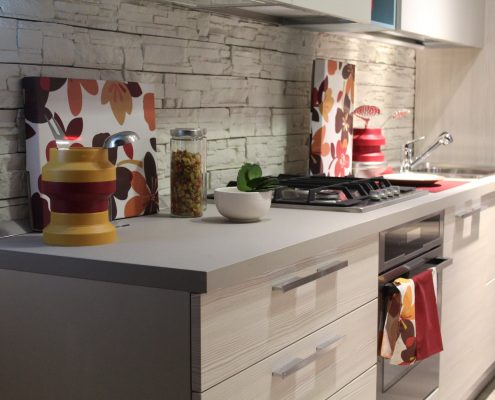
The comfortable kitchen for one at number 6 we have our last but not least One wall kitchen – again, these are great for those smaller living areas, this layout would work fantastic in a holiday home or even a small flat, the layout has just enough space for everything one person needs – it looks tidy and can be kept that way quite easily – it is great for those on a budget as well as you aren’t really adding much to this design as it’s a nice, simple layout.


Dark panels in kitchen - Grey

How to maintain those dark colored panels/benchtops

As gorgeous and elegant as dark colored panels and bench-tops are they can definitely become a challenge when it comes to finger marks, food splatters etc, a lot of people are hesitant to go with these colors as they want to avoid that nightmare as some would call it – but I’m here to tell you that it is not as bad as you think.

Whether it’s a matt, satin, semi-gloss or gloss finish, finger marks and water spills always stand out and can be hard to remove sometimes.

Because of the way the light reflects off a dark surface, the marks are often more obvious than on a lighter colour surface. If the mark is from an oily product, (for example oily fingers from cooking) removing this with a standard household cleaning spray can sometimes be ineffective as it doesn’t break down the oil. The other consideration is the streak marks that can be left behind by the cleaning product itself.

There is so many products out there people will try to upsell to you saying “it works wonders, cleaning will be a breeze” BUT this is not always the case – you’d be amazed to find how easy it is to clean up marks using warm, soapy water (you can even add in a dash of disinfectant to keep it hygienic but don’t use too much!) with a microfibre cloth – most times this will clean the cabinets leaving them nice and shiny with no marks whatsoever but sometimes, it can leave a water marks, the trick to this is actually window cleaner (it’s safe and leaves the clean look you’re going for.) On a laminate door, a mixture of eucalyptus oil and water in a spray works well to break down the grease and won’t leave streak marks.

*Always use a microfiber cloth when wiping your doors as this will avoid fine scratches from appearing (especially important if the door is a gloss finish). The best brand we have come across for this is Norwex as their ultra-fine fibers are incredible gentle yet extremely absorbent. You can find these down at our showroom or even online!

Regardless of the finish you choose, dark cabinets will generally be more work to maintain the cleanliness, however – by sticking to this cleaning guide, I promise you will be at peace with your lovely, clean outcome.

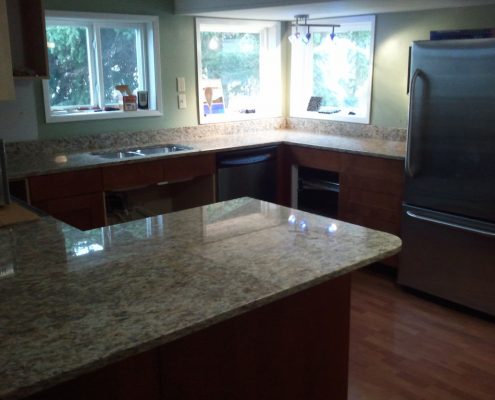
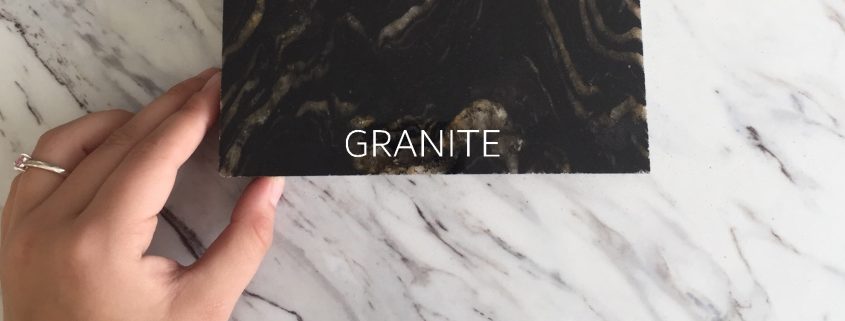
Granite

All you need to know about Granite

Tough, practical, beautiful.. no wonder Granite is the top choice for stone benchtops..

For those who are interested in granite, granite is an igneous rock with between 20% and 60% quartz by volume, and at least 35% of the total feldspar consisting of alkali feldspar, it is a incredible hard-wearing stone (ideal for kitchens) the price ranges from rarity of the stone and where it originates from also the labor involved in manufacturing this to suit any design – makes it more of an investment than a cheap fix.

Granite is produced naturally in a variety of colours this will always depend of the mix of quartz, mica & feldspar.  So, a wonderful range to choose from!

To achieve different finishes, the stone’s surface is worked with diamond pads, starting with the roughest and getting finer until the required look is produced. A high-shine, polished finish brings out the brilliant colours and shine which comes from the reflection of the stone’s crystals.

For a contemporary honed finish, polished stone is buffed to create a flat, low-sheen surface. Sandblasted granite gives a raw, textured surface. This is more porous than a polished surface and is not suitable for hardworking areas.

Clean granite with stone soap or a mild dish-washing liquid diluted in warm water. Use a clean, soft cloth, remove the detergent from the surface with a second cloth soaked in cold water, then wipe dry. Blot up any spills before they soak into the surface


Now, you’re probably wondering what the pro’s and con’s are to this magnificent product? well here goes:

PROS:

  •              Granite benchtops don’t d­epreciate in value.
  •            It’s a one-of-a-kind, natural surface that has an almost luminous look.
  •             Granite adds value to your home.
  •            It’s sanitary — bacterial contamination is not a problem with granite.
  •             Formed by heat and pressure, it can take the heat of a pan.
  •             It’s easy to clean with warm water and a mild detergent.

CONS:

  •         Granite benchtops last forever. If you get tired of the colour, you’ll either need to learn to live with it or rip out the entire counter, because you can’t change the colour.
  •          Each slab of granite is different, so it may not be a good choice if you prefer a completely uniform look.
  •          Granite itself is expensive, and the labor-intensive installation can run three times more than the cost of the material.
  •          Granite can be permanently stained if you seal it with a pre-existing stain.
  •          It can crack when hit by a hard, sharp object like a meat cleaver.
  •         Because it’s so heavy, granite often requires additional structural support, especially in spans and cantilevers.
  •          Once glued onto the cabinets, granite is quite difficult to remove, and may result in damage to the cabinets.

Here’s a link to our main supplier of granite benchtops – here you can browse through the different colours and find out where they are from, there also some finished projects on there too (don’t be afraid to pop down to their showroom and have a chat! they won’t bite!) https://www.stone.co.nz/