Thinking about getting ‘Glassy’ in the kitchen? Then this is the article for you, we have created the top 5 reasons as to why you should consider this eye-catching detail!
If you are wanting to remove your current splashback and install another one here is how you would go about it:
While there are many ways you can do it I would highly recommend doing it the “Next Edition” way – we have tried and swear by this safe, easy and efficient way, Start by getting qualified tradies in to cap the pipes and disconnect the electricity. Once the room is isolated, remove everything attached to the walls including the tap ware and light switches.
Use a brick bolster and a mash hammer to remove the tiles. Start in the top corner of a row and work your way down and across. Use your wrecking bar if you need a bit of leverage. You want sure footing while you are working. So, keep clearing the broken tiles away as you go. In some older houses, tiled walls are backed with asbestos. If you come across any, stop work immediately and contact your local council for advice.
If you have a current glass one that’s silicone/glued on, you would carefully cut around the edging of the splashback and find a wee space to get a good grip on and carefully try to remove making sure the glass doesn’t break if possible, then any extra silicone left on the remaining surface you would either scrape it off or use some acetone to lift it off.
*Please remember to wear safety gear, gloves are a very much needed necessity.
- No fuss installation:
Whether you want to do this yourself or get someone else in to do it for you – the end results are simple and stunning with no mess to clean (count us in!)
- Long lasting Glass:
Glass can stand the test of time. And that’s why it’s ideal in the kitchen – a space that can really take a hammering over the years. Since splashbacks are made from toughened glass, they can stand against oil splatters, cleaning products, food splatters – that means you can cook up a storm without worrying about warping, blackening, fading or cracking & not to mention how EASY they are to clean, all you need is a bit of warm soapy water to get most of the food/oil/dust off and then give it a quick dry and shine it up with some glass cleaner.
- A Statement to modernize your kitchen in a cost-effective way:
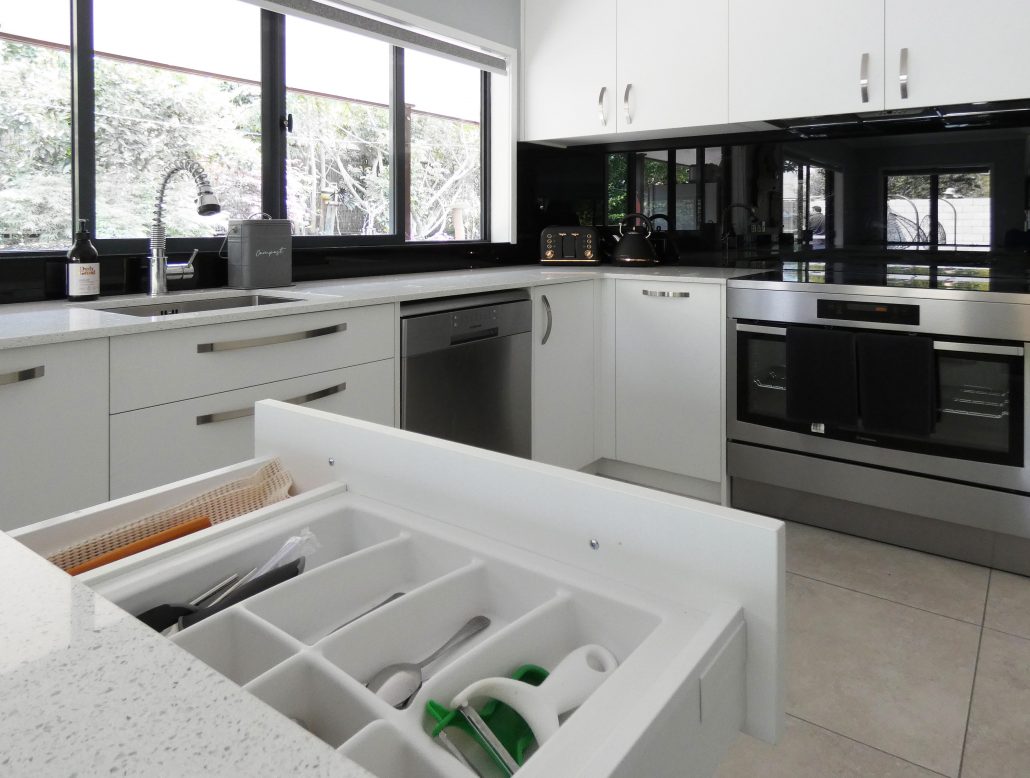
As we know, renovation can be lengthy and sometimes costly for some – we are constantly looking for different ways to suit our needs while keeping our wallets happy but also giving our kitchens a bit of glamorizing – There’s nothing quite like the shine of a glossy glass splashback. Its reflective surface opens the kitchen space, adds a touch of luxury and splashes light around the room year-round. With only a couple of steps to install your splashback it is time efficient but also adds a statement to give that eye-catching detail your kitchen may just need.
- A Splashback you can tailor to be your slice of paradise:
To create a custom kitchen that truly reflects you, the right colour palette is crucial. Luckily, glass splashbacks come in a rainbow of colours and shades – vibrant blues and reds, pretty pink, daring black, sparkling white, gorgeous green – and any other colour you can imagine, now-a-days you can even get as creative as possible and get a picture off google or you could even paint your own! The options are endless.
- It’s a No to bacteria from Splashbacks!
Bacteria breeds in spaces such as the kitchen and bathroom, particularly on tile grout and in cracks. Since glass splashbacks are shiny, slippery surfaces with no grout, keeping bacteria away is no task for splashbacks!
After reading this article, have you asked yourself if it’s the next step for you but are questioning “where do I enquire?” head down to your local hardware stores and kitchen manufacturers who will gladly assist you with an offer you can’t refuse!


