A brief history about the kitchen
Today i wanted to take everyone back to the very first kitchen and the history of how we have evolved into today’s design. Everyone knows or may have seen the bright, funky colors and basic, similar designs kitchens where a few decades ago (in my opinion, i love modern but i also love retro and original! so evolving into the styles and trends of today was and still is very exciting for me) and we’ve all seen and heard of the newer kitchen designs dated as of today, the future designs really interest me.
Get comfy, make a hot tea and be prepared to see the timeline.
- THE ORIGINS – Back in ancient times and I’m talking years and years ago, our ancestors cooked on open fires that were constructed outside on the flat ground, later on they had an idea to construct something that would hold pots and pans above the heat instead of holding them, themselves. they had come up with a simple, masonry design which was put in place to hold the handles of the pots and pans etc. In this era, the food was often placed in metal cauldrons that were hanging above the fire. These cooking areas naturally caused people to gather as they were the primary source of heat, light, safety and of course, food. The smoke and soot let off from the fires were a HUGE problem until the 16th century as it would go everywhere, this is when chimneys came into the mix With a chimney, smoke was drawn up and out of the great hall, making it easier to breath and easier to create large cooking fires in fireplaces. Here’s a picture to show you exactly how it was:
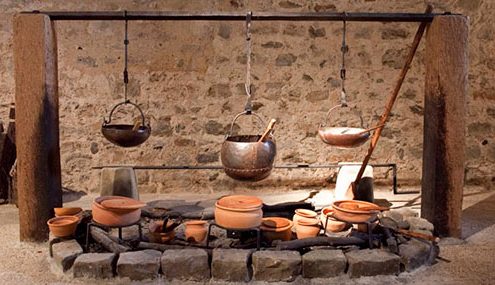
12th Century Kitchen
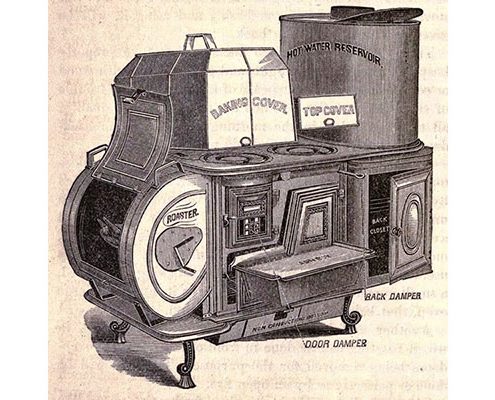
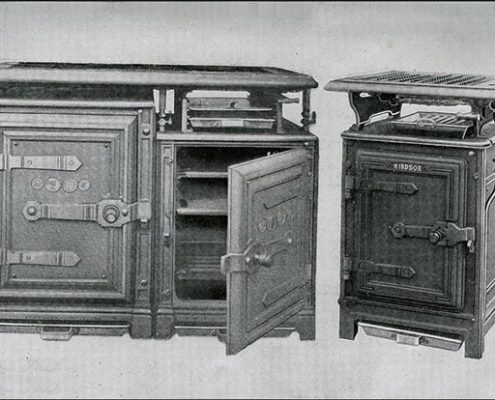
2. THE DEVELOPMENT OF STOVES – Moving along to the year of 1735, economic trends and politics had a massive influence on the practicality and design of the kitchen, technological advancements were constant many of which came in effect to minimize the time spent on a meal and the work involved around it, in the 18th century this is where we would find this design to come into effect (still fueled by wood at this stage.) One of the earliest wood-burning kitchen stoves was the Stew Stove (or Castrol Stove) developed in 1735 by the French designer Francois Cuvilliés. An early yet famous example of a metal stove is the Franklin stove (pictured below) which came into effect in the 18th century, invented by Benjamin Franklin (thats right, the guy you see on American $100 bills) in 1742. It had a special guide in place for hot gases to escape, allowing heat to enter the room instead of going up the chimney. However, this stove was designed only for heating, not for cooking – Strange huh?! The industrial revolution encouraged new inventions, cheaper prices, and new ways of efficiency. The most common stove for heating in the industrial world for almost a century and a half was the coal-burning one. Coal stoves came in all sizes and shapes and different operating principles. Since coal burns at a much higher temperature than wood, coal stoves needed to be constructed to withstand the high heat levels.
1735 – Oven
3. THE OBERLIN STOVE – Progressing a little up the timeline to 1834, a man named Philo Stewart took it upon himself to design a compact, wood burning cast iron stove in which was named the Oberlin Stove. this was a metal stove, small enough to use for cooking. It was much more efficient than cooking in a fireplace this is because it had increased cooking temperatures and had the option to record cooking times. It actually blew up and became a major success for Philo, it could be cast into decorative shapes and forms and could easily withstand temperature swings from hot to cold. These iron stoves evolved into specialized cooking appliances with flue pipes connected to the chimney, oven holes, and installations for heating water.
1869 – Philo
4. THE MOVE TO GAS STOVES – Complaints and concerns about air pollution from the smoke excretions arose and sent a decline in coal stove purchases way down hill – Gas the became the next best thing. Because they were fueled by gas the production of the oven became lighter and even smaller! the genius British inventor James Sharp gave a big yes to the gas stove invention in 1826. By the 1920s, gas ovens were used in most domestic kitchens and was very rare to see the older ones.
1826 – James Sharp
5. THE GRAND APPEARANCE FROM THE ELECTRIC OVEN – This oven caused quite the competition between the Gas stove and itself, this occurred in the 1920’s and 1930’s. The Copeman Electric Stove Company (based in Michigan) received the first patent for an electric stove in 1912. Copeman Electric Stove, 1912 – Mostly wood, it had two ovens, top units, automatic timer and heat control.
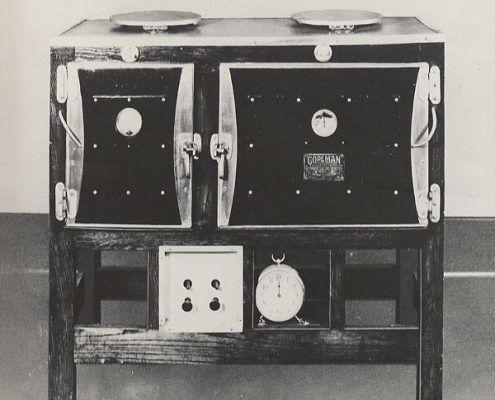
Copeman Electric Stove, 1912
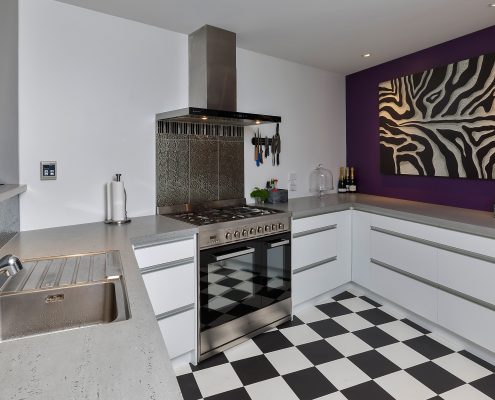
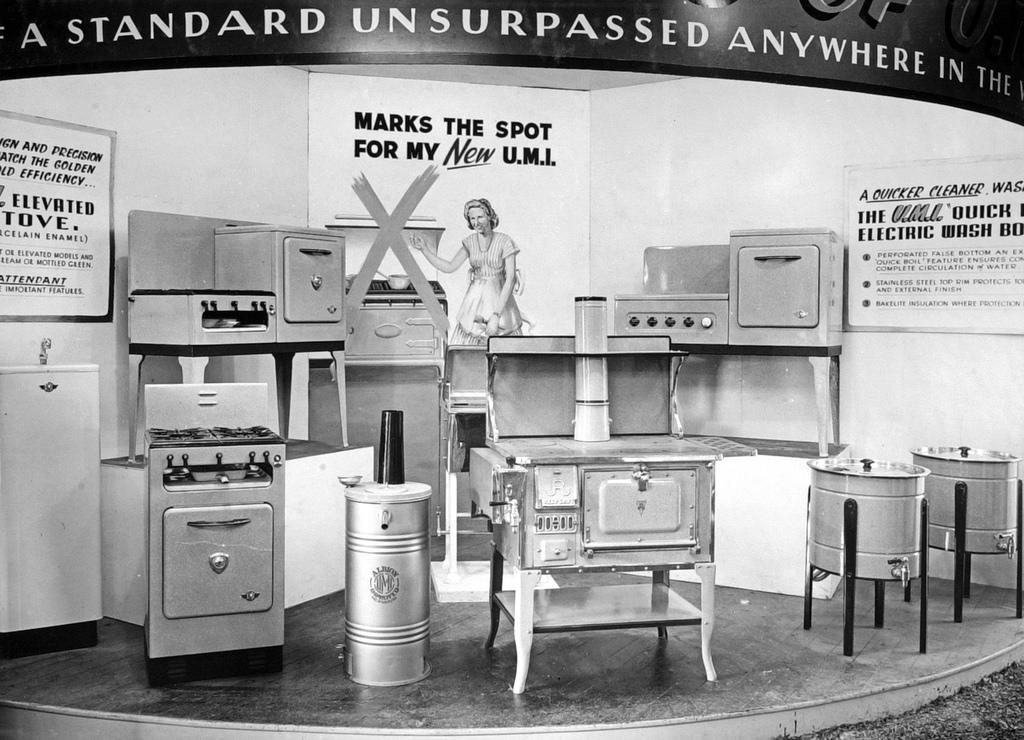
6. MODERN KITCHEN DEVELOPMENT (Post world war #2 onwards…) – The housing and manufacturing development of post World War 2 made a huge effect on what we class as the “modern” kitchen nowadays. There was a major jump in demands for kitchen technology and equipment that inspired homeowners to rip down the walls that once hid their efficient kitchens. The kitchen was becoming quieter, cleaner, better organized and easier to work in, a sense of pride, and slowly a place to entertain family and friends. In the 1960’s and 1970’s other social changes were taking place that upgraded the style and trend of the kitchen, a renewed interest in home baking/cooking, having a dedicated space for utensils and even entertaining was suitable for having the kitchen be the heart of the home. The kitchen became a place for improving baking skills, displaying fancy (expensive) cookware and becoming the heart for social gatherings. By the 1980’s, the idea of a completely open kitchen with appliances in the open, came into the new idea of design.
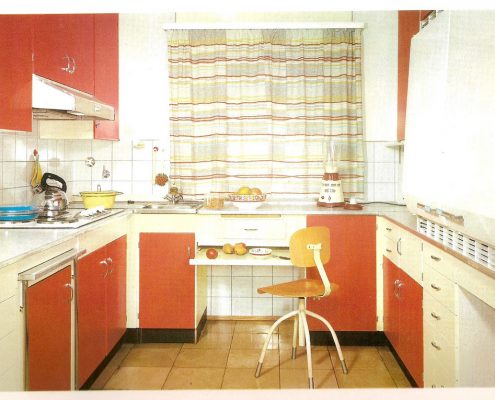
1960’s – Kitchen
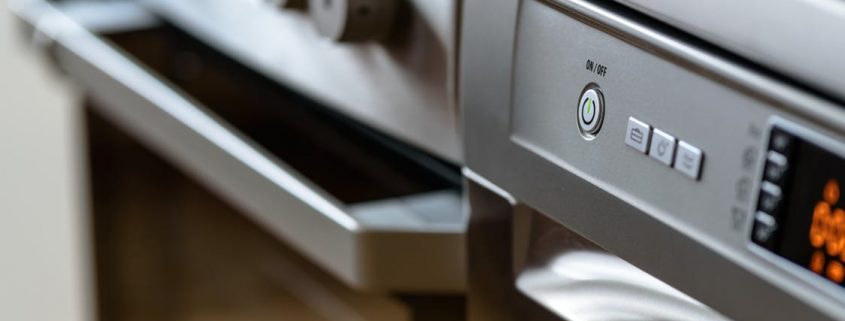
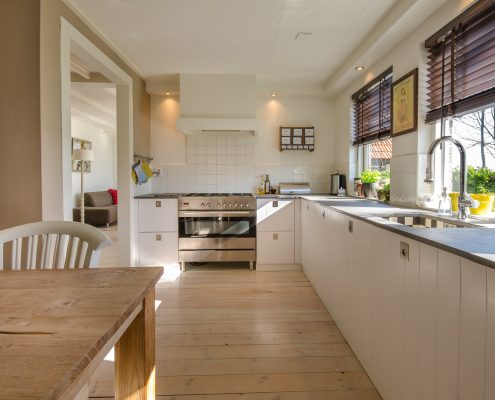
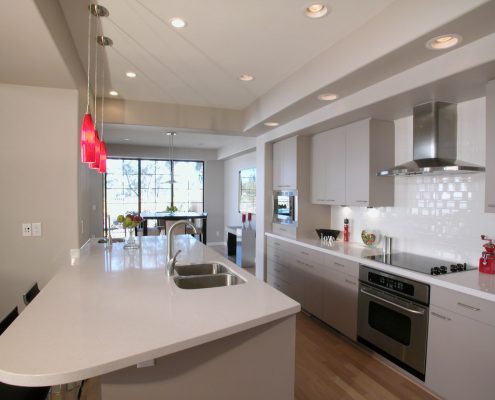
7. CONTEMPORARY KITCHENS – Today’s ovens have evolved into more time, health and energy efficient, our appliances are finally catching up with our fast moving lifestyles, speed ovens for instance, cuts the cooking time in half which actually saves energy used during meal preparation The kitchen doesn’t look like the kitchen, in the traditional sense. It’s now a clean space, with a full range of sleek appliances looking towards a sustainable future. Only up from here and we’re excited to see what the future brings.
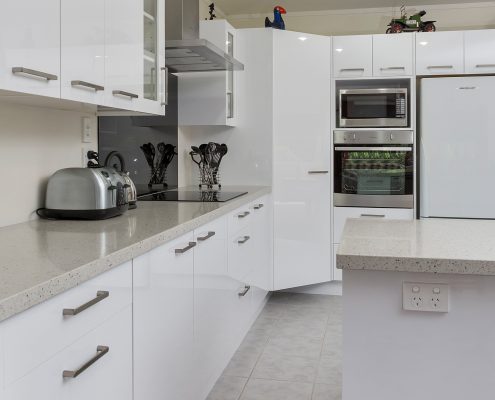
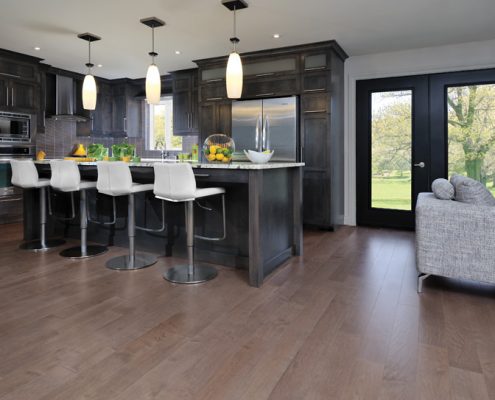
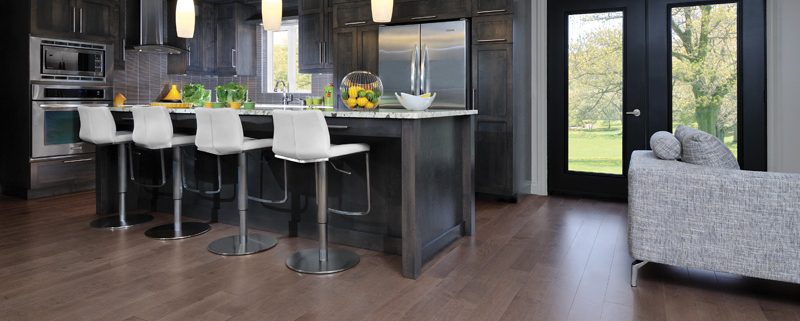
2018 – Kitchen (Next Edition Kitchens)